In the summer of 2014 “Bamse and the World champion of malice” was played at the Mariebergsteater stage in Karlstad.
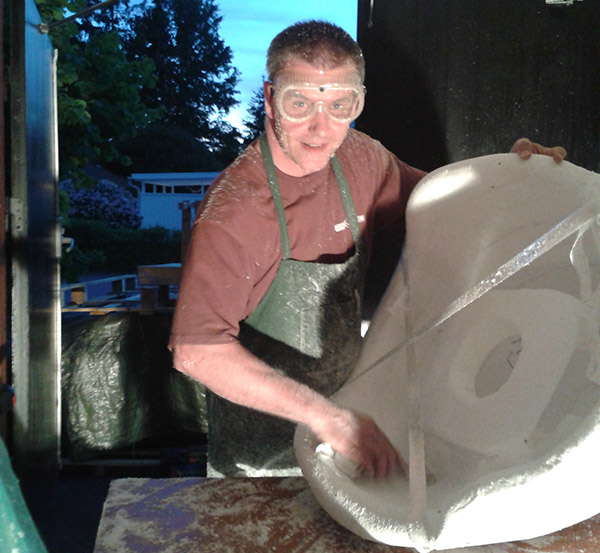
My task was to produce Professor Shellback’s shell. He would pick out everything from a pillow to a canoe from his shell. The shell had to be robust and not crack if Professor shellback would lie on his back. Luckily the idea of a canoe in the shell was dropped 🙂
Considering robustness, my plan was to make the shell out of glass fiber reinforced plastic with a core of styrofoam.
A pillow, a wodden club, a badminton racket, his special food- and sleeping clock and a magnifying glass should fit snugly. It was also a challenge to place the stuff so that Professor Shellback could reach them from behind his back.
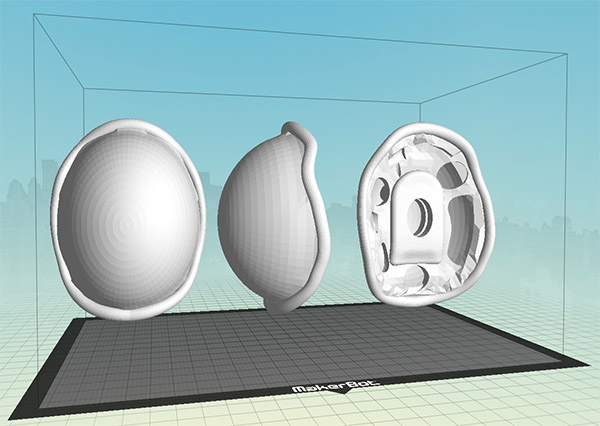
I first made a 3D model of the shell. I took measures of my own body as the actor is roughly the same size as me. I modelled a simple body and all the stuff to be put into the shell by Professor Shellback. It was then quite easy to move the stuff around to find ideal placement to make it all fit and to be reachable from behind the actors back. The shell was also designed to leave room for movement of arms and legs.
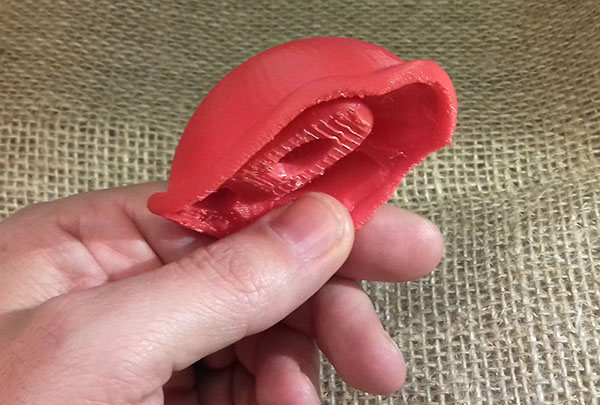
I printed a miniature of the shell in my Makerbot Replicator just to get the feel for it. Would it look nice? It is better to know if it will work before putting too much labour into the project!
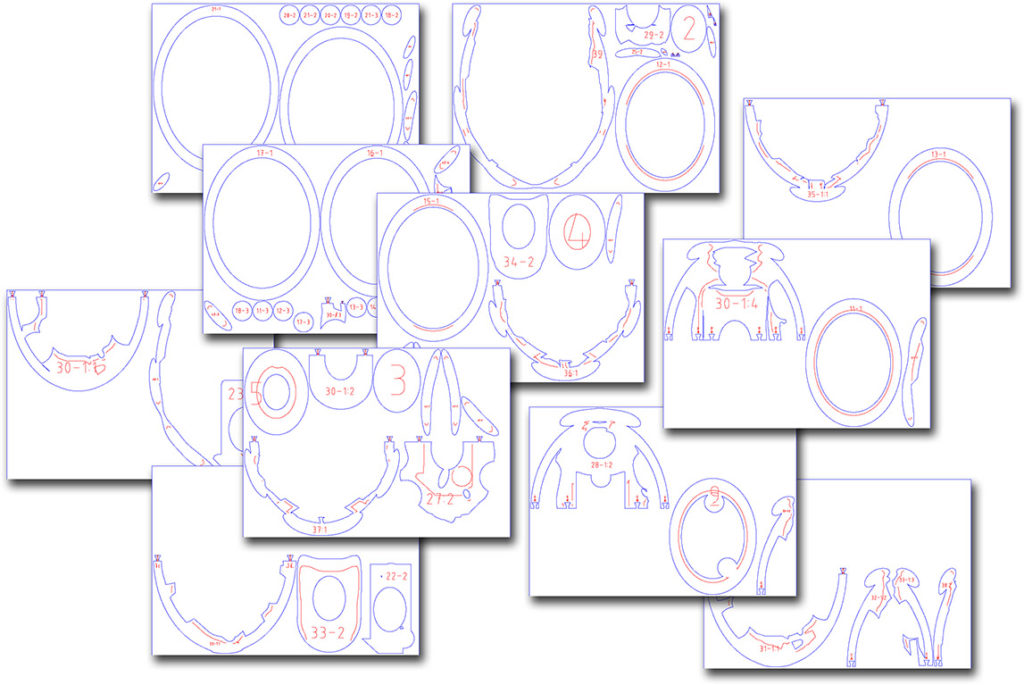
When i was satisfied with the design I exported the 3D-model to the webb application 123D Make to make slices of the shell.
The drawing exported from 123D Make was printed out on a A0 printer. In total i was 25 A0 sized prints! Blue lines showed where the parts were to be cut out and the red lines marked the edges of the next slice to facilitate alignment when it was time for bonding. Then the pattern was transferred to the styrofoam panels using a marker pen.
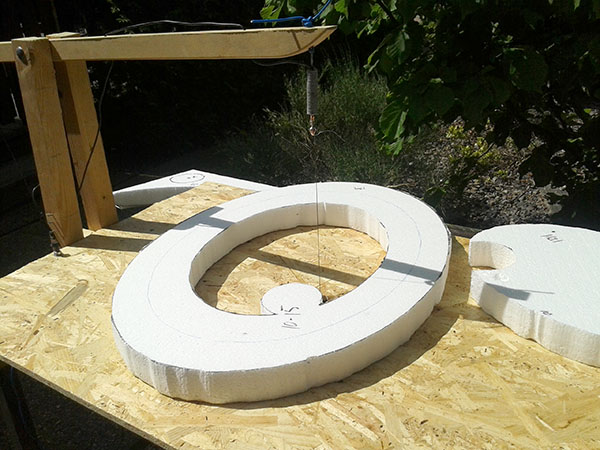
The next step was to cut out the parts from the styrofoam. The cutting were done in a temporary rigging with a steel wire that was heated by 12 volt car battery.
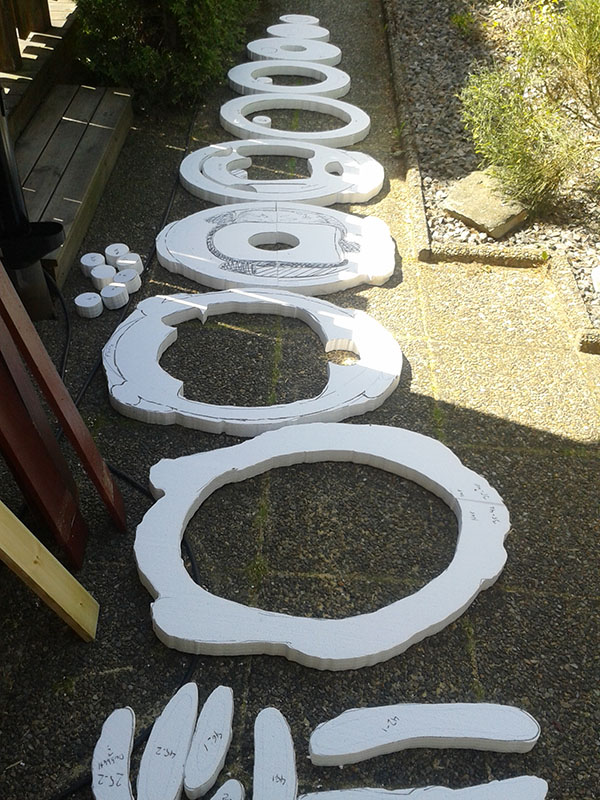
Each part was numbered according to the slice-prints to be able to identify the pieces and glue them together in the right order.
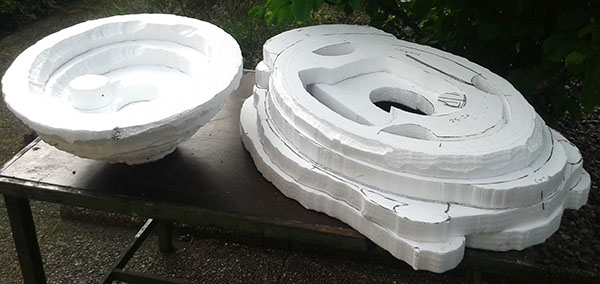
The shell was made in two parts so that it would be possible to sand the inside. Waterbased glue was used to cement the styrofoam panels.
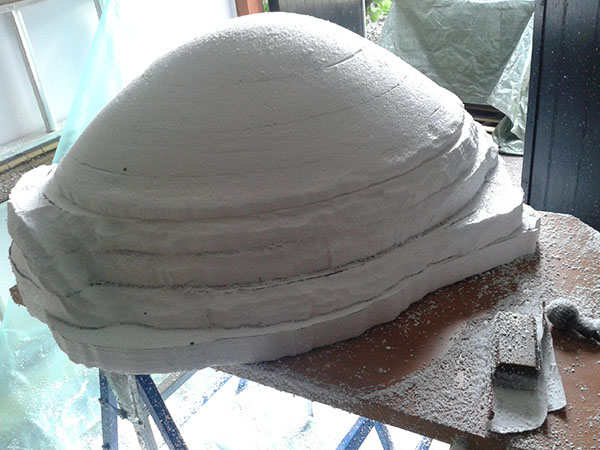
The next step was to smooth the shell shape. For this I used a rotary rasp in a drill and coarse 50-grit sandingpaper. I slowly made the shell thinner and carved grooves between the shell tiles. I was careful not to work too long on one detail as it was practically impossible to go back to the original shape.
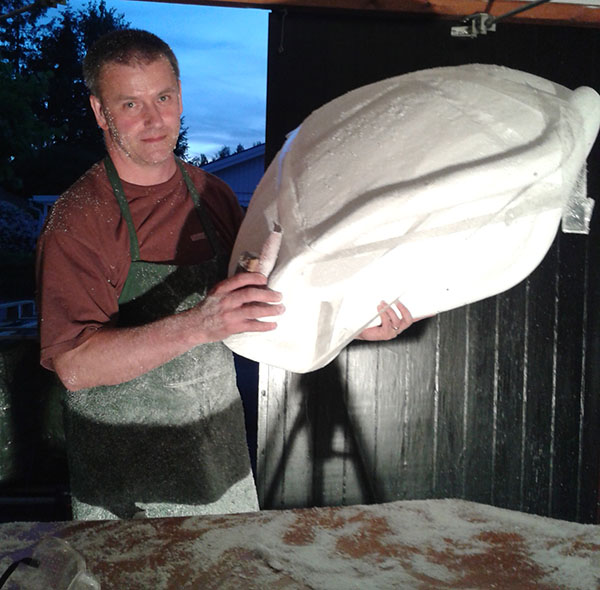
If you ever cut or sanded styrofoam, then you know there will be lots of static globules that sticks to just everything. I used both masks and goggles when I sanded.
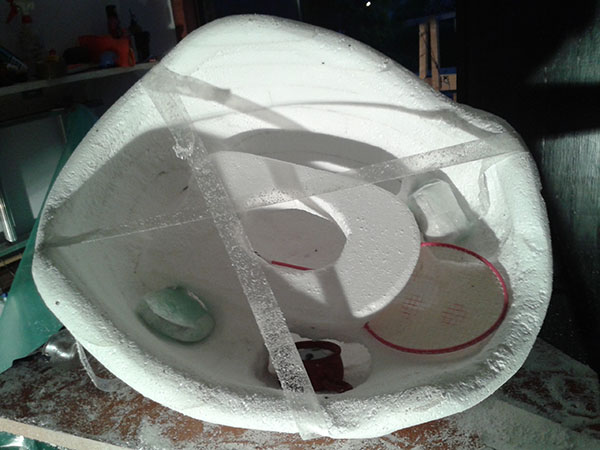
The shell should be thin but durable. Professor Shellback’s stuff should fit but do not sit so loosely that they might fall out by itself.
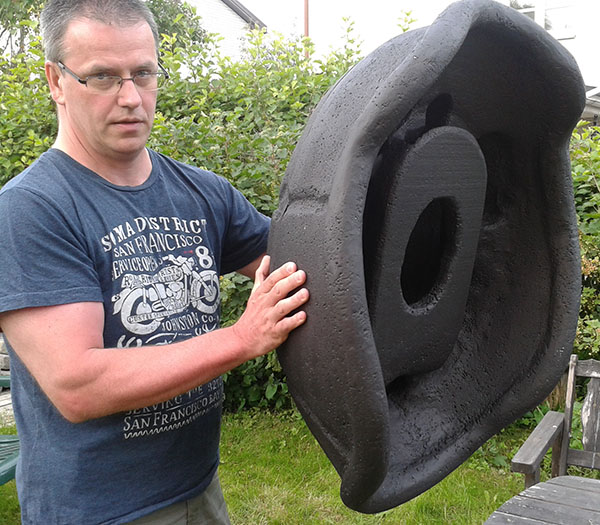
To protect the styrofoam from melting when applying the fiberglass plastic, the styrofoam was primed with water-soluble acrylic paint.
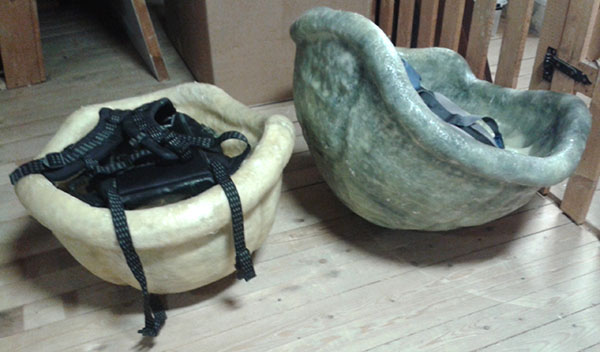
To the left is my first attempt, which was not approved by the director because he thought it was too small. I thought it was proportionate to the actors size. But it’s the director who decides 😉
The styrofoam was covered with a few layers of fiberglass mixed with plastic. The harness of an old backpack was reused and attached to the shell.
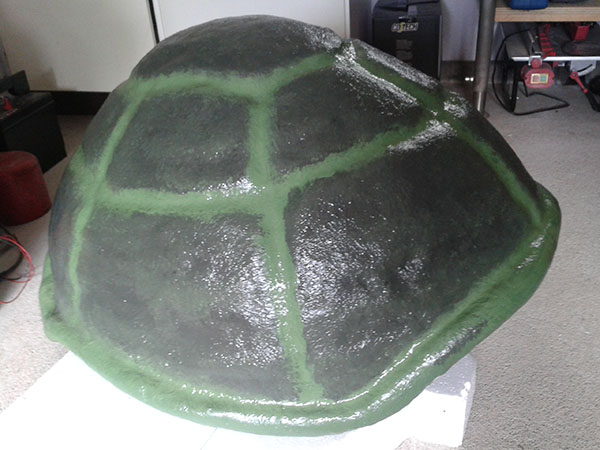
Two shades of green transforms the thing to Professor Shellback’s well-known shell.
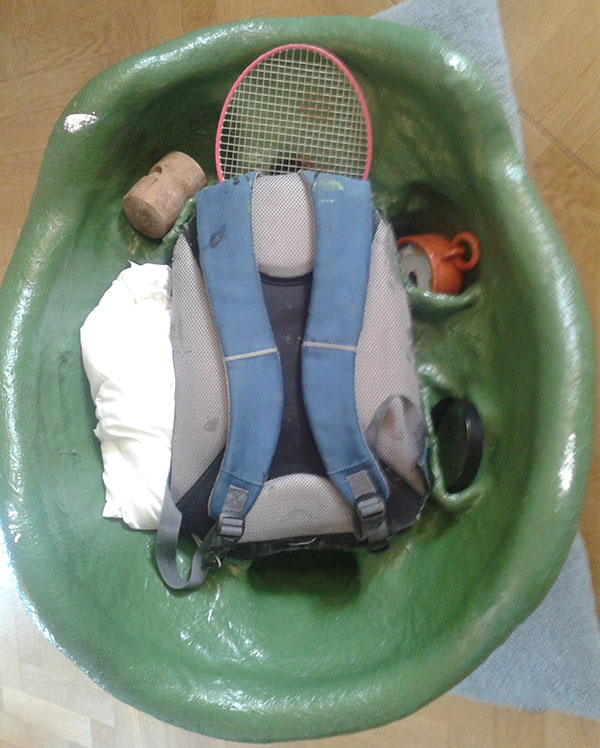
And double-checking that all things are in place!
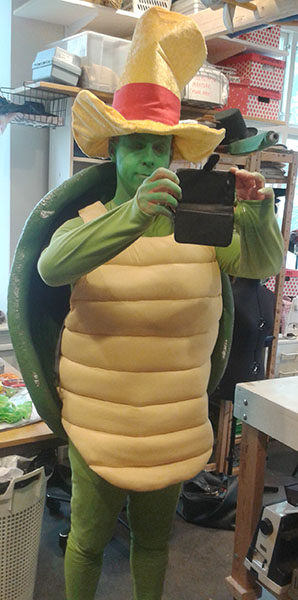
Professor Shellback was happy to get his shell 🙂
0 Comments
1 Pingback